
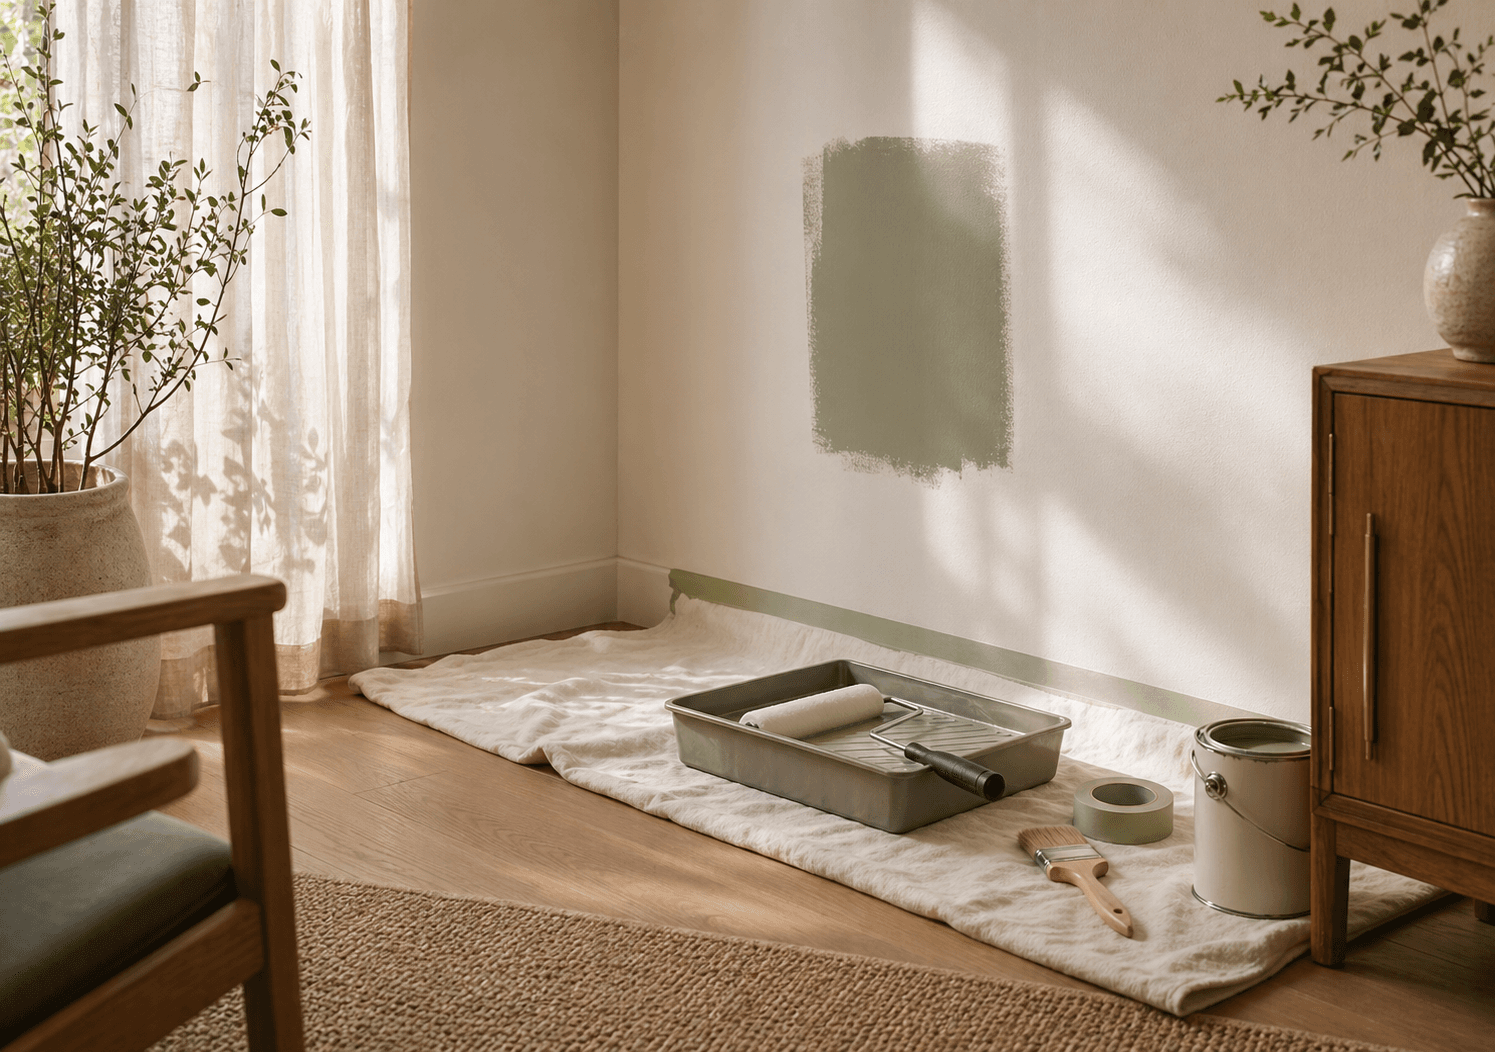
A paint touch-up can remain visible even when the color name is correct. The existing coating has aged, collected wear, and reflected light for years; the new coating has not. Sheen, texture, application tool, batch, surface repair, and the direction of light can all create a visible patch. Good preparation begins by deciding whether the goal is a small protective repair or a uniform finished wall.
Collect the paint information you actually have
- Photograph the label on any saved can, including brand, product line, color formula, and sheen.
- Note the room and wall where the saved paint was originally used.
- Record when the wall was last painted and whether it has been cleaned or repaired since.
- Photograph the area in daylight and with the room lighting turned on.
- If no paint remains, do not assume a color-name match will reproduce the existing finish.
Inspect the surface before discussing coats
Look for loose paint, chalking, stains, caulk failure, cracks, dents, texture differences, lifted drywall paper, and previous patches. Active moisture, recurring discoloration, softness, or mold-like growth should be resolved before painting. A new finish is not a repair for an unstable substrate.
Understand why sheen changes the result
Flat, matte, eggshell, satin, semigloss, and gloss surfaces reflect light differently. Even within the same sheen name, manufacturers and product lines vary. Brushing a small spot into a rolled wall can also create a different texture. Side lighting from windows and fixtures makes these changes more obvious. When consistency matters, repainting from corner to corner may be more predictable than touching one isolated spot.
Treat pre-1978 paint as a planning issue
The federal government banned consumer use of lead-based paint in 1978, but older homes may still contain it beneath later coatings. The EPA’s Renovation, Repair and Painting guidance explains the rules for covered paint-disturbing work in pre-1978 homes and child-occupied facilities. Tell the reviewer the construction year before sanding, cutting, window work, or wall repair is planned, and ask how lead-safe requirements affect the scope.
Define the boundaries of the painting request
- Exact walls, trim, doors, or repaired areas included
- Who moves furniture and removes wall décor or window treatments
- Which holes, cracks, stains, and caulk lines are included in preparation
- Who supplies paint and how product and sheen are approved
- Whether the goal is touch-up, one full wall, trim refresh, or another complete surface
- What drying, ventilation, occupancy, and access constraints apply
Approve the test result before expanding the work
When a touch-up is appropriate, agree on a small test area and view it after drying under the room’s normal daylight and evening lighting. A wet sample can look different from the cured finish. If the edge, sheen, texture, or color remains obvious, decide whether to accept the local repair or change the scope to a complete wall before more paint is applied.
Send photos and paint information before buying more product or repairing the wall yourself. The interior painting service explains the launch scope Paloma Pro can review, including smaller painting and preparation requests, drywall or moisture questions, and work that requires a lead-safe or specialized provider.